How to Pad Kayak Seat for Ultra Distance Racing: The Expert’s Guide to Comfort and Performance
If you’ve ever wondered how to pad kayak seat for ultra distance racing, here’s a quick truth: no amount of grit can protect your backside from 10 hours on hard plastic. Your sit bones eventually start drafting resignation letters. The real question is not whether you’ll feel it, but how soon.
One paddler once told me he lost sensation in his legs halfway through a 50-mile race, and by the finish, he felt like he had borrowed someone else’s body. So yes, padding is survival, not luxury. But let’s talk how to pad kayak seat for ultra distance racing.
How to Pad Kayak Seat for Ultra Distance Racing
The most effective way to pad a kayak seat for ultra distance racing is to combine thin, shaped closed-cell foam under the sit bones with either a partially deflated inflatable cushion or light gel inserts for targeted relief.
The padding must be minimal to avoid raising your seat too high, yet firm enough to distribute pressure. Foam like minicell (about 3–8 mm) gives structure, while an inflatable pad allows micro-adjustments during the race. Secure everything with non-slip velcro or silicone dots so the pad does not shift mid-stroke.
This balance preserves power transfer, prevents numbness, reduces chafing, and maintains proper boat trim, all critical in ultra-distance paddling. Now let’s break down exactly how to pad kayak seat for ultra distance racing step-by-step.
Quick materials and tools checklist
- Closed-cell foam sheet (minicell or closed-cell polyethylene), 3 mm and 5 mm thickness options
- Thin inflatable seat pad (light air pad), optional
- Small gel pads or gel dots, optional (3–5 mm)
- Hook-and-loop strips with low-tack adhesive backing or 3M Dual Lock
- Silicone caulk or non skid dots
- Marine-grade contact adhesive for permanent installs, optional
- Sharp utility knife or upholstery blade
- Heavy-duty scissors
- Measuring tape and marker
- Cardboard or thick craft paper for templates
- Fine-file or coarse sandpaper
- Neoprene or stretch fabric cover, optional
- Gaffer tape and duct tape for temporary fixes
Step 1 — Prepare the seat
- Remove any old padding, covers, and debris from the seat area.
- Rinse and dry the seat thoroughly. A clean surface helps adhesives hold and prevents slippage.
- Set your foot brace and backband to the positions you will use in the race. Do not change these during the fitting process. Your padding must work with your normal paddling posture.
Step 2 — Map your pressure points
- Place a sheet of cardboard or craft paper on the seat. Cover it with a thin plastic film if you want easier cleanup.
- Sit into your normal paddling position. Plant your feet and mimic a few full strokes so you are in the posture you actually use.
- Rise slowly and inspect the cardboard. Two main impressions show your sit bones. Mark the centers and trace around the impressions. This gives the base template for sit-bone inserts.
Step 3 — Make templates
- Transfer the cardboard outline onto paper and refine the shape. For sit-bone inserts use elongated ovals. A good starting size is 6 to 9 cm long and 3 to 5 cm wide. Adjust to your impressions.
- Trace a full-seat template to guide the base foam cut. This should follow the seat pan shape and avoid sharp edges that rub hips.
Step 4 — Cut the base layer
- Cut a full-seat base from 3 mm closed-cell foam following your full-seat template. Keep edges rounded to prevent sharp ridges.
- If your hull has a central channel or ridges, carve the foam to match. The base should sit flush without bunching.
Step 5 — Cut and shape sit-bone inserts
- Cut sit-bone inserts from 5 mm closed-cell foam using your sit-bone templates. You can use two identical pieces, one per bone.
- Contour the top edges slightly so the foam cups the bone but does not leave a hard rim. Use sandpaper or a file to soften edges.
- Optionally taper the rear of the insert to extend support toward the hamstrings. This helps spread pressure.
Step 6 — Optional: thin gel dots and back support
- Place small gel pads only where you detect sharp peak pressure. Do not use large gel sheets that raise the whole seat.
- For low back support add a thin 3 mm foam lumbar pad behind the backband to prevent chafing and maintain posture.
Step 7 — Temporary fit and shoe test
- Lay the base foam in the seat and position the sit-bone inserts. Use gaffer tape to hold them temporarily.
- Sit in full paddling kit. Do a 10 to 20 minute paddling simulation on calm water or on land with repeated torso rotations. Pay attention to numbness, slippage, and whether your legs and hips still push into the foot brace normally.
- If you notice excessive seat rise or a change in stroke mechanics, reduce foam thickness or trim inserts.
Step 8 — Secure the pads permanently but serviceably
- For a removable setup use low-tack hook-and-loop strips on the hull and foam. Place several strips under the base foam. This allows removal for drying and rapid swaps.
- Add small silicone caulk dots under the front and rear edges for anti-slip without permanent bond.
- If you want a permanent fit, use a marine-grade contact adhesive applied per manufacturer instructions. Allow cure time. Avoid adhesives that bond directly to boat gelcoat if you might replace the pad later.
Step 9 — Integrate a thin inflatable pad if desired
- Place a thin inflatable pad under the base foam or on top of the base but below the sit-bone inserts. Test both configurations for comfort.
- Inflate minimally. The aim is to create a cup for the sit bones not a thick seat. Many racers keep the inflatable nearly flat and deflate slightly during long efforts to encourage circulation.
- Check valve access so you can adjust inflation on the water.
Step 10 — Final trimming and finishing
- Round all exposed foam edges so fabric and skin glide without catching. Use sandpaper and a file.
- Cover the assembly with a neoprene or stretch fabric sleeve if you want a smooth interface. Sew or glue the sleeve outside the seat area so it does not add bulk under the sit bones.
- Recheck foot-brace position. Adjust slightly if needed to restore your original hip angle and drive.
Step 11 — On-water test protocol
- Short test: 30 minutes. Assess immediate comfort, slippage, and seating feel.
- Medium test: 2 hours. Watch for early numbness, hotspots, and chafing. Note any pressure shifting.
- Long test: 4 hours or race simulation. Evaluate sustained comfort, fatigue, and whether pad alters stroke efficiency. Log results after each session and tweak thickness or placement. Use a simple scale 0 to 10 for numbness and chafing to track improvement.
Step 12 — Race-day packing list and quick repairs
Carry:
- Spare 3 mm foam strip cut to seat width for emergency shim.
- Small roll of gaffer tape or duct tape.
- Hook-and-loop patch strips.
- Mini pump and patch kit for inflatable pad.
- Small zip ties and a tiny tube of silicone.
These items fix most failures in minutes and keep you moving.
Step 13 — Maintenance and replacement rules
- Rinse foam with fresh water and soap after salty days. Dry completely out of direct sun. UV degrades foam over time.
- Replace foam if it compresses permanently or tears. Closed-cell foam will eventually lose resilience.
- Inspect adhesive strips and replace annually or after heavy use.
Safety and medical notes
- Stop and address persistent numbness that does not return within 24 hours after rest. Prolonged nerve compression can cause lasting damage.
- Treat skin chafes and hotspots early. Keep wounds clean and seek medical care if signs of infection appear.
- If you have preexisting pelvic or nerve conditions consult a medical professional before committing to a long race setup.
Quick troubleshooting
- Pad slips forward: add silicone dots under the front edge and secure with a short Velcro strip.
- Pins and needles inside thigh: reduce insert thickness or add a shallow hamstring shim to shift load.
- Boat feels tippier: remove 1 to 3 mm of foam from the base and retest. Small height changes have large effects on trim.
Follow these steps and treat the process as iterative. The right pad is not the thickest pad. It is the one that preserves power, keeps circulation, and disappears under your body for hours at a time.
Why Comfort Matters in Ultra Distance Racing
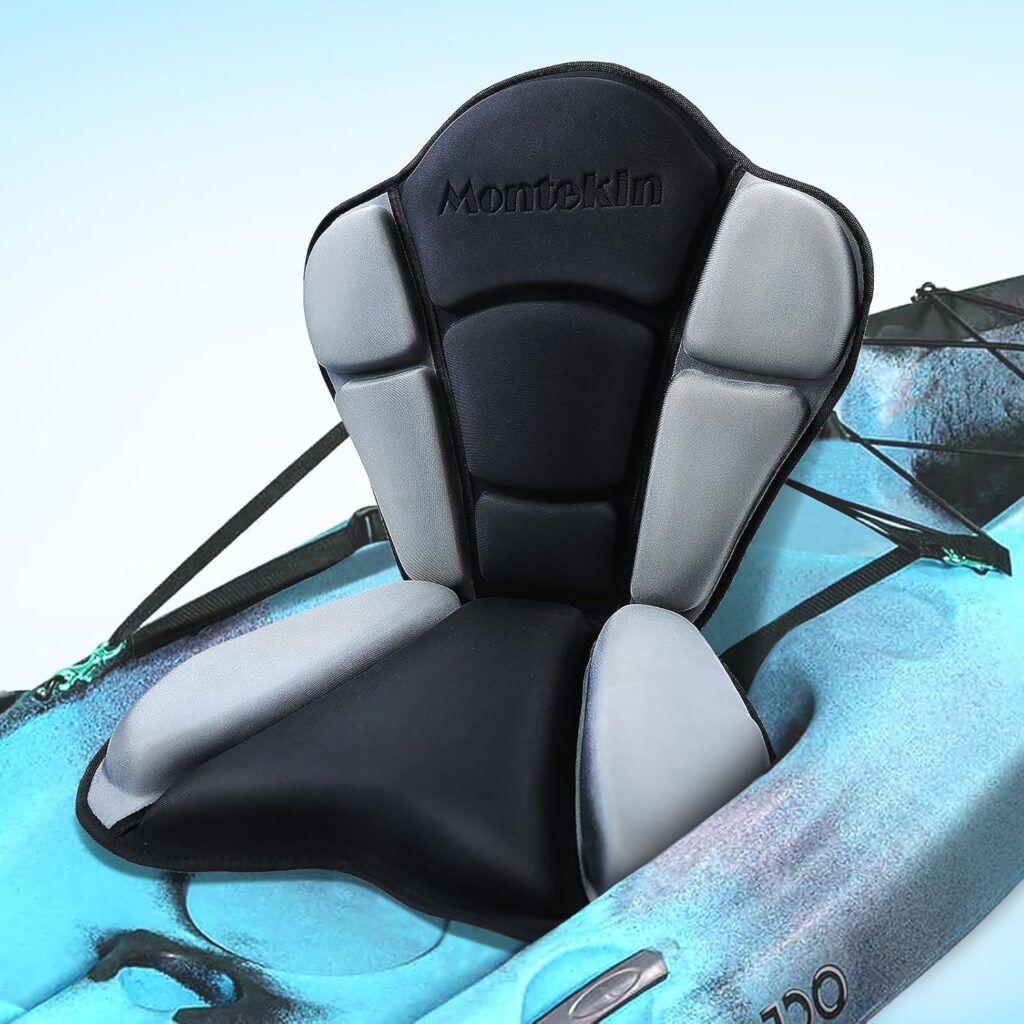
Spending 6–12 hours in a kayak highlights every flaw in your seat. Standard kayak seats are designed for short recreational outings, not for marathon efforts. Without proper padding, paddlers suffer:
- Pressure points on sit bones leading to deep bruising.
- Numbness in legs due to compressed nerves and circulation issues.
- Skin breakdown and chafing, especially near the lower back and hips.
- Energy loss because pain forces adjustments in posture, disrupting efficiency.
The padding you choose affects not just comfort but performance. Add too much cushioning and you risk raising your center of gravity, which makes the kayak twitchy. Too soft, and you slide around, wasting energy. Too little, and you’ll feel every stroke like punishment. The solution is smart, not thick.
The Science of Seating: How Padding Affects Performance
Every kayak paddler generates power from a chain: legs, hips, core, then arms. A well-designed seat must let you anchor your sit bones firmly so that drive transfers into the paddle stroke.
Increase seat height with thick cushions and your legs extend differently, changing stroke mechanics. Research on paddling ergonomics shows that even a small lift alters hip angle, which reduces output over long distances.
That’s why most ultra racers favor thin, sculpted foam inserts rather than thick pillows. The goal is not “comfort like a recliner,” but efficient comfort support that eliminates pain without compromising stroke.
Materials for Padding: What Works and Why
Different materials behave differently on the water. Let’s evaluate the common ones used to pad kayak seats for ultra distance racing.
1. Closed-Cell Foam (Minicell or EVA)
- Why it works: Waterproof, doesn’t absorb sweat or water, and easy to cut to shape.
- Thickness: 3–8 mm under sit bones, slightly thicker (10–12 mm) for hip edges if needed.
- Pros: Lightweight, firm support, customizable.
- Cons: Too firm without contouring, may feel hard after several hours.
2. Inflatable Seat Pads
- Why it works: Pressure can be adjusted during the race by letting air out or topping up.
- Best practice: Partially deflate so it cups the sit bones without creating a high perch.
- Pros: Dynamic comfort, easy to carry.
- Cons: Risk of puncture, can shift if unsecured.
3. Gel Inserts
- Why it works: Absorbs micro-vibrations and reduces peak pressure on nerves.
- Pros: Targeted relief for sit bones.
- Cons: Heavy, can feel squishy and unstable if used widely.
4. Sheepskin or Fleece Covers
- Why it works: Reduces chafing and adds softness against skin.
- Pros: Comfortable, reduces abrasion.
- Cons: Retains water, heavy when soaked, not race-friendly.
5. Neoprene Sleeves or Seat Socks
- Why it works: Provide light padding and keep surfaces smooth.
- Pros: Easy to slip on/off, reduces friction.
- Cons: Limited cushioning on their own.
FAQs on How to Pad Kayak Seat for Ultra Distance Racing
Why Does My Butt Go Numb When Kayaking Long Distance?
Numbness comes from nerve compression under the sit bones. Without padding, the hard seat cuts circulation. Shaped foam plus micro-adjustments during paddling prevent this.
Can Too Much Padding Reduce My Efficiency?
Yes. Over-padding raises seat height, alters leg angle, and reduces stroke efficiency. The best setup is minimal but strategic.
What is the best material to pad a kayak Seat?
Closed-cell foam is the gold standard for its waterproof durability. Combine with an inflatable for long-distance adaptability.
Do I Need To Replace Kayak Seats Entirely?
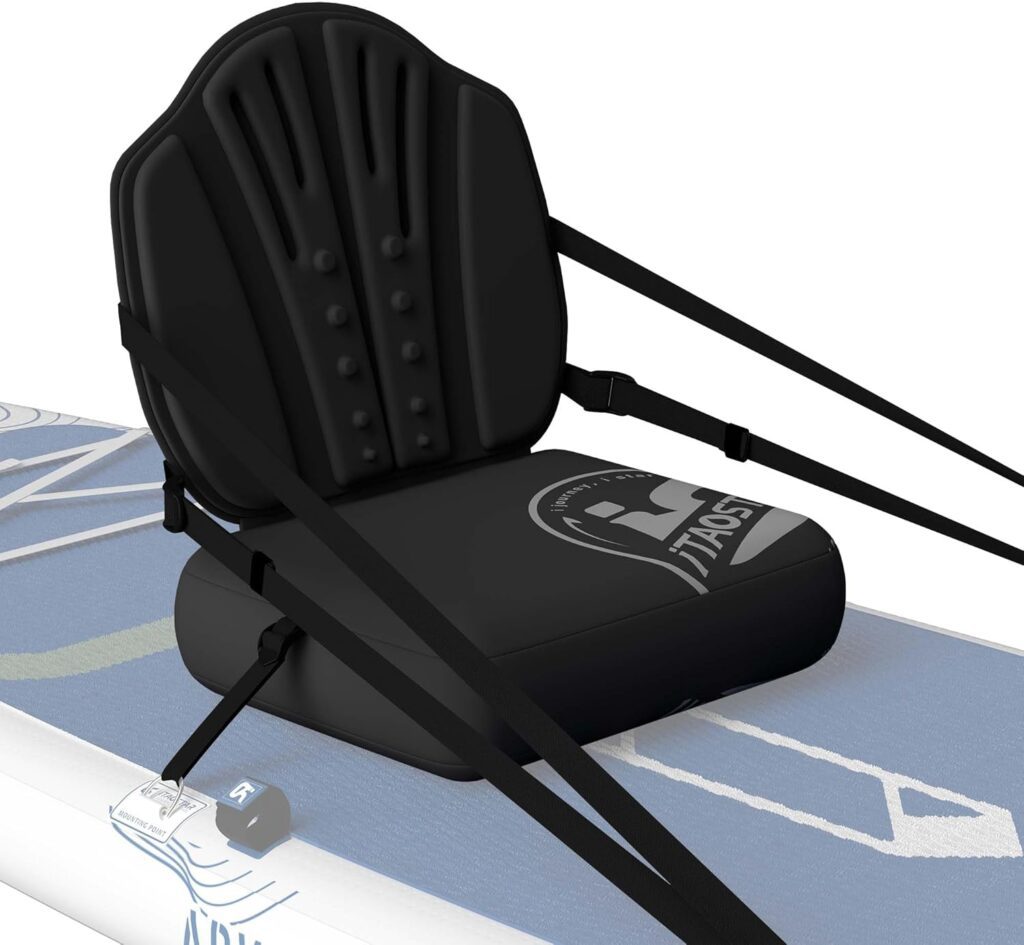
If your kayak seat is old or cracked, a kayak seats replacement or even a full kayak chair upgrade may be smarter. Newer racing seats are designed with ergonomic shaping already built-in.
Can Padding Help With Kayak Back Support?
Yes, thin pads or lumbar rolls improve kayak back support, especially in sit in kayak models where posture is upright for hours.
Is Padding Race Legal?
Most racing rules allow seat modifications, but some weigh the entire kayak including fittings. Always check regulations for your event.
Recommended Gear and Seat Upgrades
- Closed-Cell Foam Sheets: Lightweight, easy to carve.
- Inflatable Pads (Therm-a-Rest style): Adjustable and portable.
- Specialized Racing Seats: Some high-end racing kayaks come with contoured seats, eliminating the need for heavy padding.
If you’re shopping, reviews of best padded seats for kayaks often highlight these types. Paddlers who cross over into fishing often ask what is the best fishing kayak or even look at features like the best fish finder for kayak, but for ultra racing, the seat is the true engine room.
The Bottom Line on How to Pad Kayak Seat for Ultra Distance Racing
Padding a kayak seat for ultra distance racing is equal parts science and craft. The simple answer is to combine thin closed-cell foam with adjustable support like an inflatable or small gel insert, then secure it firmly. But the deeper truth is that comfort is personal: your anatomy, your boat, and your race goals all shape the right solution.
Ultra-distance racers don’t win by ignoring pain. They win by managing it intelligently. And if anyone asks why you’re carrying a spare foam square in your gear bag, just tell them it’s your insurance policy for finishing strong.

