How To Waterproof Speakers Without Frying the Sound or Your Wallet
Let’s be honest, when you first Googled how to waterproof speakers, were you picturing a roll of duct tape, a gallon of wishful thinking, and maybe a Ziploc bag? Don’t worry. You’re not alone. We’ve all stared at our pricey Bluetooth speaker while ominous clouds rolled in, whispering, “Please don’t die on me now.”
Whether you’re planning to blast your carefully curated beach playlist or just want to protect your not-so-waterproof JBL from a surprise splash attack, this is your full guide on how to waterproof speakers without ruining the sound—or your weekend.
How to Waterproof Speakers (Step-by-Step)
Before we dive into hacks, let’s get something clear: waterproofing a speaker is not the same as making it “swim-proof.” Waterproofing helps prevent accidental splashes, rain exposure, or high humidity from frying your gear, not turning your speaker into a submarine.
Let’s break down exactly how to waterproof speakers (especially Bluetooth ones like that mega-loud JBL that doesn’t come waterproof) in a way that works, stays budget-friendly, and keeps your music loud and proud.
Step 1: Understand Your Speaker’s Current Water Resistance
Check IP Rating (If Any)
Before DIY-ing anything, flip your speaker over or check the manual. If your speaker has an IP rating like IPX4 or IP67, it already has some level of water resistance.
- IPX4 = splash-resistant (think drizzle, not diving)
- IPX7 = waterproof (submersible up to 1 meter for 30 mins)
- No rating? You’re starting from scratch.
Popular speakers like older JBL Xtreme or Anker Soundcore versions may sound bomb but come with zero waterproofing. That means a spilled drink could mean a silent night. You’ll definitely want to protect these.
Step 2: Gather Waterproofing Materials
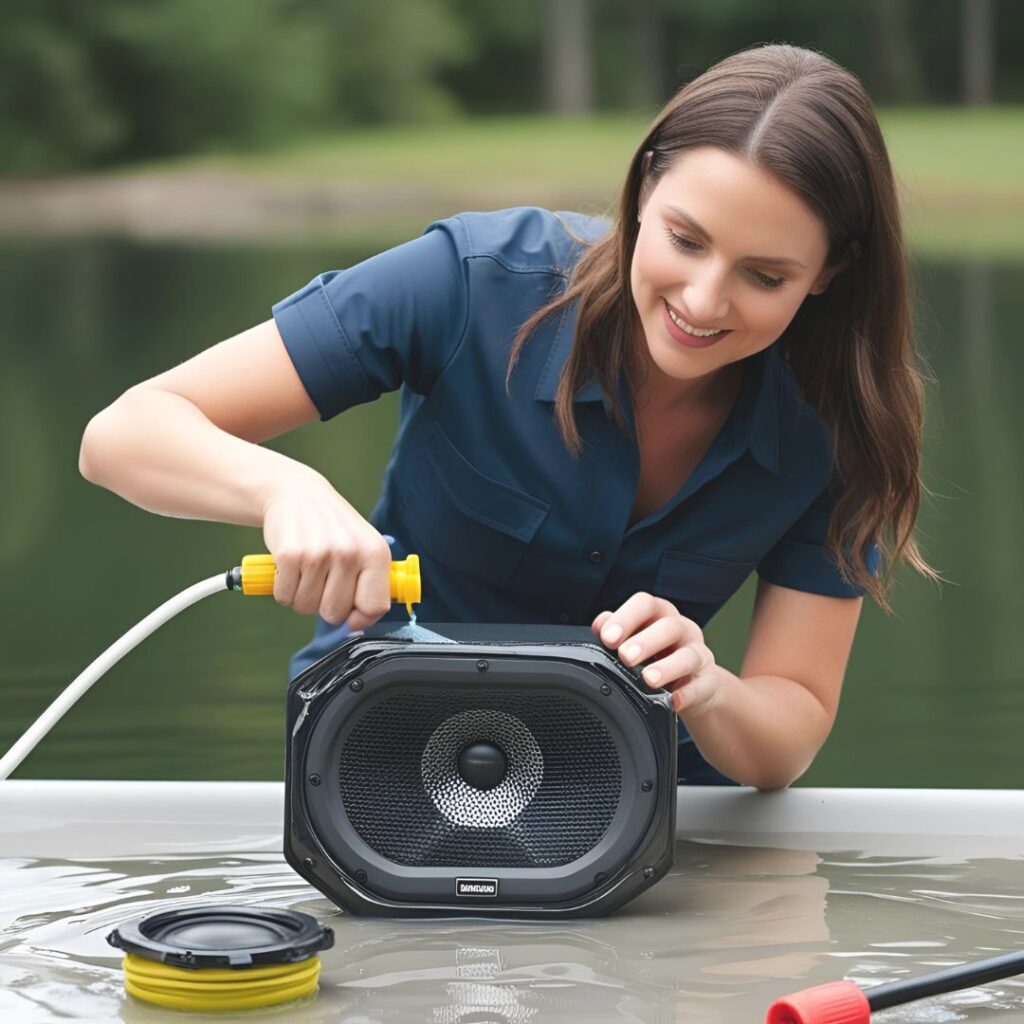
You don’t need to be MacGyver, but a few essentials go a long way:
INTERESTING READ: 9 Best Waterproof Bluetooth Speakers For The Beach And Pool
| Item | Use |
| Silicone sealant | To seal speaker grills, screw gaps (use sparingly!) |
| Waterproof spray (like Nano Protech or NeverWet) | Adds water-repellent coating to surfaces |
| Soft waterproof bag or dry pouch | Best for full-body protection |
| Rubber port covers/plugs | Cover AUX, charging, and SD ports |
| Mesh vent covers | Protect audio vents while preserving sound |
Expert tip: Always test waterproofing methods on non-electrical areas first—avoid spraying ports, charging inputs, or open vents directly.
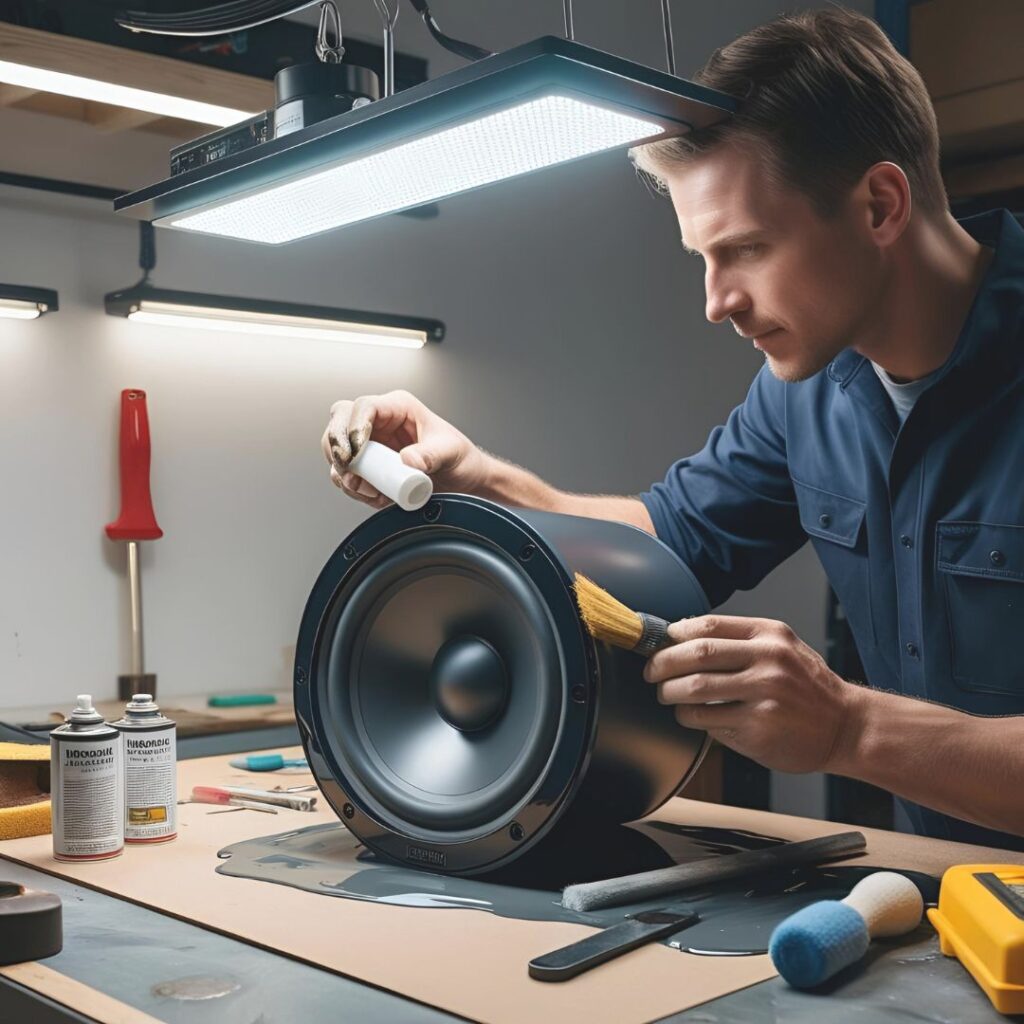
Step 3: Seal Weak Points (Without Killing the Sound)
Here’s the delicate part. You need to block water’s entry points without blocking airflow or acoustic channels.
1. Seal the seams
Use a thin bead of silicone sealant along plastic seams and screw holes—especially under rubber feet or around the battery panel.
2. Cover the ports
Apply removable rubber port plugs or fashion your own with rubber grommets. These are critical: most speaker deaths happen through charging or AUX ports.
3. Vent the sound, not the water
Stick on a mesh acoustic screen (available online or from speaker repair kits) over the speaker grille if it’s a front-facing woofer. This keeps droplets out while allowing sound to pass.
Step 4: Use Waterproofing Spray (The Right Way)
Use sprays designed for electronics and textiles, not just water-repellent for boots.
- Wipe your speaker clean and dry.
- Spray from 6–8 inches away in even coats.
- Let it cure at least 24 hours.
- Avoid electrical contact areas (charging port, power button, etc.).
Step 5: Protect with a Waterproof Bag or Case (Optional but Smart)
When heading to the beach, pool, or rainy campsite, toss your speaker in a clear waterproof speaker bag with acoustic mesh (found on Amazon or outdoor shops).
- These bags let sound out but keep water out.
- Some let you plug a cable through without opening the bag.
- Perfect for speakers like the JBL Xtreme that crank out volume but aren’t built for splashes.
Pro tip: Don’t rely on hard plastic cases unless they’re vented with acoustic mesh — otherwise, you’ll trap heat and muffle the sound.
What Does It Really Mean to Waterproof a Speaker?
Many people confuse waterproof with water-resistant or splash-proof.
- Water-resistant = Can handle sweat, humidity, or a light drizzle.
- Splash-proof = Safe from occasional water contact.
- Waterproof = Can survive brief submersion (usually 30 mins, up to 1m).
- IP Ratings matter: IPX7 is legit waterproof. IPX4? Not so much.
JBL’s older, louder speakers (like the Xtreme or original Charge) lack full IPX7. DIY waterproofing fills that gap.
What About Charging the Speaker While It’s Protected?
Here’s the dilemma: Your Bluetooth speaker needs juice, but your ports are now sealed tighter than a submarine hatch.
Solutions:
- Use port covers with built-in flaps you can lift to charge.
- Buy waterproof charging cases or bags with pass-through grommets.
- Charge it before heading out—this reduces exposure.
Never charge your speaker while it’s actively wet or inside a wet bag. That’s not waterproofing; that’s pre-meditated speakericide.
Does DIY Waterproofing Affect Sound Quality?
In short: it can, but it doesn’t have to.
You’ll get the best results by:
- Avoiding the speaker cone or grille when using sealants or spray
- Choosing acoustic mesh covers over cling wrap or solid cases
- Testing everything indoors before your big beach day
Done correctly, waterproofing methods like nano-sprays or breathable mesh don’t noticeably affect volume or tone.
READ ALSO: How Does A Bluetooth Speaker Work
Can I Just Use a Ziploc Bag?
Yes and no.
- Ziplocs provide emergency protection.
- Sound will be muffled (a lot).
- They trap heat—bad for lithium batteries.
- Great for short-term exposure (like rain), not all-day use.
Instead, grab a dry bag with a sound pass-through window or a splash-proof Bluetooth speaker bag. Think of it as speaker rain gear.
Want a Long-Term Solution? Build a DIY Waterproof Speaker Box
If you’ve got skills (or a decent toolkit), build a rugged speaker enclosure using:
- Marine-grade plastic or ABS casing
- Foam sealant around the speaker mount
- Acoustic port with mesh vent
- Silicone-sealed lid and screw holes
This is great for:
- Boat speakers
- Poolside installations
- Outdoor parties with real hardware
Keep in mind: Heat and air pressure need to escape—don’t seal the box airtight or you’ll lose sound quality.
RELATED: How To Use JBL Speaker
Mistakes to Avoid When Waterproofing a Speaker
Let’s save your wallet with these red flags:
- Over-spraying ports or buttons → shorts the circuits
- Sealing all vents → causes overheating or terrible sound
- Forgetting to cure spray or sealants → they won’t work if rushed
- Using kitchen wrap or duct tape → traps moisture and heat
Always let your speaker breathe—but not drink.
Maintenance: Keep Your Waterproofing Fresh
Even after you learn how to waterproof speakers, remember that:
- Sprays lose effectiveness over time. Re-apply every 2–3 months.
- Seals can dry and crack—check your silicone seasonally.
- Clean your speaker with a dry microfiber cloth; moisture plus dirt equals doom.
What If I Don’t Want to DIY This?
Totally fair. Some days you just want something ready-to-go.
Here are alternatives to DIY:
- JBL Flip 6 or Charge 5 → Fully waterproof, IP67 rated, beach-friendly.
- Ultimate Ears BOOM 3 → Submersible, floats, rugged build.
- Sony SRS-XE300 → Waterproof with long battery life.
Still, if you’re clinging to your old, non-waterproof JBL like it’s family, the DIY steps above are your best bet for keeping the party alive and dry.
The Bottom Line on How to Waterproof Speakers (So They Survive Your Lifestyle)
So there you have it. Whether you’re camping, partying by the pool, or just avoiding another tragic “speaker in the sink” moment, learning how to waterproof speakers is part science, part art, and a tiny bit of paranoia.
✅ Know your speaker
✅ Seal it smart
✅ Keep the sound flowing
✅ And never—never—charge it in the rain.
Because no one wants to explain to their friends why their epic beach playlist turned into the sound of silence.


